How do you use a whole picture on a Christmas card?
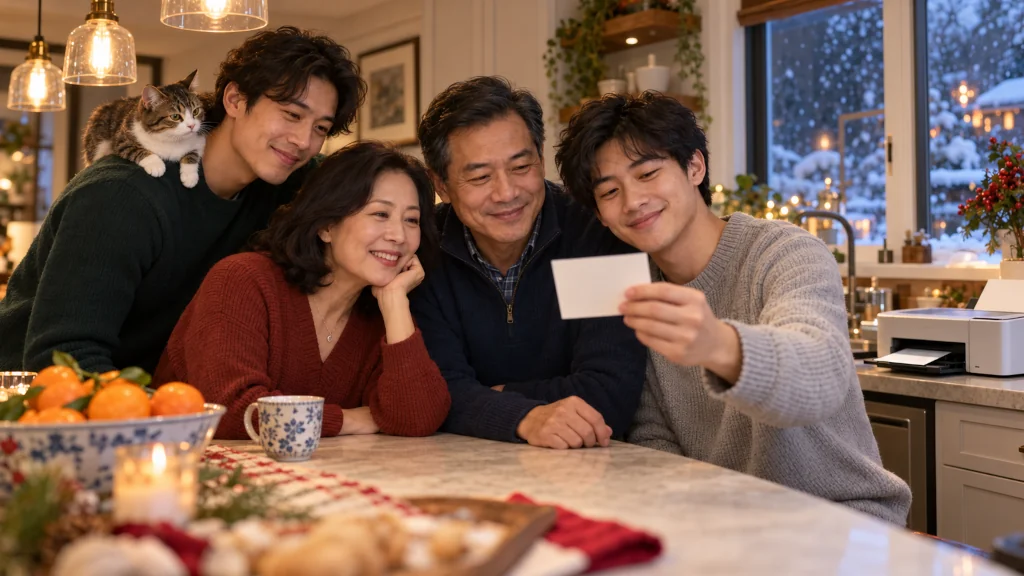
The printer hums and slides out a single page.
You and your husband are at the island, your sons home from college and leaning over your shoulders.
On the page is a test of this year’s card, printed at its real size.
Your husband counts out loud. Four people. One cat on the older boy’s shoulder.
Nobody is cut off at the edge. Nobody is a speck.
Your younger son picks it up, holds it at arm’s length, and nods.
Getting there takes a few steps, and they fit on one page. Decide what “whole” has to mean for your family. Match the photo to the card’s window. Keep everyone recognizable. Respect the printer’s edges and the photo’s sharpness. Check before ordering. Know what to do if it still goes wrong. And take next year’s photo with the card in mind.
That is the whole answer to a question many card senders ask: “How do you use a whole picture on a Christmas card? It’s only using half of our picture”
This final article brings the whole series together into one plan.
Key Takeaways
- When a card shows only part of a photo, the rest is usually hidden, not lost, and the first step is finding where it went.
- “Whole” should mean every person who matters, clearly recognizable, not necessarily every pixel of the photo.
- Most cropping comes from a photo and a card window being different shapes, and the fix is to match them or show the photo with a border.
- Print edges, sharpness, and a careful proof check protect the fix you made.
- Planning next year’s photo with room around the edges prevents most of the problem.
Step 1: Find where the missing part went
The first article in this series, on why a card shows only half a photo, explained that the missing part usually has a specific cause.
The photo may have been cropped before it was uploaded.
The card’s photo window may be a different shape.
Lettering or decoration may cover part of it.
Or the edges may have been trimmed in printing.
Each cause has a different fix.
Step 2: Decide what “whole” means
The article on keeping everyone in the card without tiny faces made a distinction that runs through the whole series.
Keeping every pixel is not the same as keeping every person.
Before adjusting anything, decide who and what must stay: every person, any family pet, faces large enough to recognize, and one or two details that make the photo yours.
Everything else can be trimmed if it has to be.
Step 3: Match the photo to the window
Four articles dealt with shape.
The article on fit versus fill showed that fit keeps the whole photo, fill hides edges, moving the photo only changes who is hidden, and stretching is never a real fix.
The article on landscape photos showed that “landscape” is a direction, not a shape, and that a wide phone photo can lose its ends on a wide card.
The article on vertical photos showed that a tall picture can lose around half its height in a wide window, and that a tall window, a border, a second panel or a vertical card keeps it whole.
The article on choosing a design suggested picking the photo first, then the card, and placing the real photo into each design before personalizing anything.
Step 4: Keep everyone recognizable
The article on tiny faces suggested looking at the card at the size it will be held and trading empty background for larger faces.
The article on one photo versus a collage showed that more photos are not the same as more family, and that comparing layouts at actual size, with the family’s input, is the fairest way to choose.
Step 5: Protect the edges and the detail
The article on bleed and safe areas explained that printed cards are trimmed, so faces, names and pets belong inside the safe area while background runs to the edge.
The article on blurry cards explained that fitting a photo and printing it sharply are separate jobs, and that the original file and a close look at faces matter more than the absence of a warning.
Step 6: Check before ordering, and know what to do after
The article on proof checks offered two passes: one up close for edges, faces, words and panels, and one at actual size for recognition, repeated after any change, with the approved proof saved.
The article on cards that came back cropped covered what to do if delivered cards differ from the proof: stop before mailing, gather a clear record, and ask for a specific fix with a date.
Step 7: Plan next year’s photo
The article on taking next year’s photo suggested leaving room around the group, keeping people away from the edges, taking wide and close versions in both orientations, keeping the originals, and testing the photo in a card layout the same week.
Practical Takeaways
The whole plan on one page:
- Find where the missing part went before changing anything.
- Decide who and what must stay.
- Start from the original photo, then choose a design whose window fits it.
- Show the whole photo with a border, or choose a window that matches its shape. Never stretch.
- Check at actual size that every face is easy to find.
- Keep faces and names inside the safe area, and check sharpness close up.
- Run a two-pass proof check, and save the approved proof.
- If delivered cards differ, document first and then ask for a specific fix.
- Next year, step back when taking the photo.
Conclusion
No single article in this series answered the whole question.
Together, they make a plan from the photo to the mailbox.
The goal was never really to keep every pixel.
It was to send a card that shows your whole family, clearly, as themselves.
Decide what to keep.
Then keep it.
When the Point Is the Whole Family
If what you really want is everyone on the card, clearly themselves, a Hawkes’ Impossible Portraits holiday card is built around exactly that. You upload a photo of each person, up to seven people in all with room for one cat or dog, and the scene is composed around your family instead of fitting one group picture into a fixed window. Every portrait gets an automatic identity check, and you can run it again and choose among the versions that pass. Premium folded 7×5 cards on heavyweight 130 lb silk-coated stock with premium envelopes, in Christmas, Hanukkah and Kwanzaa scenes. See the before-to-after examples.
FAQ
How do I get my whole photo on a Christmas card?
Show the photo with a border, or choose a design whose photo window matches the photo’s shape. Avoid stretching, and check the result at actual size.
Why does my card only show half of my photo?
Usually because the photo and the card’s window are different shapes, though lettering, print trimming, or an already-cropped photo can also cause it.
What matters more, the whole photo or everyone’s faces?
For most family cards, every person being clearly recognizable matters more than keeping all the background.
How can I avoid this problem next year?
Leave room around the group when taking the photo, take both vertical and horizontal versions, keep the originals, and test the photo in a card layout soon after.
This Article Is Part Of A Larger Series
Question: How do you use a whole picture on a Christmas card? It’s only using half of our picture
Current article: Article 13 of 13 – Capstone article
This article explores one evidence-supported aspect of the larger question.
Readers interested in the full answer should explore the complete series.